- Published on
CloudWatch RUM with Cognito Identity Pool for SAM/Cloudformation
6 minute read • ––– views
Overview
I was asked to look into Amazon CloudWatch RUM and how to implement it for some of our applications at Advanced.
CloudWatch RUM is a service that was released at AWS reInvent 2021. It allows you to configure your web application to perform real-user monitoring. It can also be configured to collect additional data, such as performance, errors and HTTP requests. It also works with AWS XRay, which allows it to track client to server traces. Overall it looks like a helpful tool that will aid analysis and debugging.
The cost is $1 for every 100k of events that are collected. Every data item collected by the RUM web client is considered an event e.g. page view, JavaScript or HTTP errors. See AWS CloudWatch Pricing for detailed information.
The guide will take you through getting CloudWatch RUM deployed and hooked into your application.
Requirements
To follow along, you will need.
- AWS Account
- AWS SAM CLI
- Web application you want to do real-user monitoring on
CloudWatch RUM & Cognito Deployment
The SAM/Cloudformation template will deploy the CloudWatch RUM application monitor along with a Cognito Identity Pool. The Identity Pool is configured to allow unauthorized access to the CloudWatch RUM web client. This is required for the CloudWatch RUM web client to send the events back to the CloudWatch RUM service.
To deploy, follow the below steps.
- Copy the below template into a file called
template.yml
AWSTemplateFormatVersion: "2010-09-09"
Transform: AWS::Serverless-2016-10-31
Description: >
  Setup Cloudwatch RUM using Cognito IdentityPool for specified application and domain
Parameters:
  ApplicationName:
    Description: The name of the service
    Type: String
  ApplicationDomain:
    Description: The top-level internet domain name
    Type: String

Resources:
  CWRumIdentityPool:
    Type: AWS::Cognito::IdentityPool
    Properties:
      IdentityPoolName: !Ref ApplicationName
      AllowUnauthenticatedIdentities: true

  CWRumIdentityPoolRoles:
    Type: AWS::Cognito::IdentityPoolRoleAttachment
    Properties:
      IdentityPoolId: !Ref CWRumIdentityPool
      Roles:
        unauthenticated: !GetAtt CWRumClientRole.Arn

  CWRumClientRole:
    Type: AWS::IAM::Role
    Properties:
      AssumeRolePolicyDocument:
        Version: 2012-10-17
        Statement:
          - Effect: Allow
            Principal:
              Federated:
                - cognito-identity.amazonaws.com
            Action:
              - sts:AssumeRoleWithWebIdentity
            Condition:
              StringEquals:
                cognito-identity.amazonaws.com:aud: !Ref CWRumIdentityPool
              ForAnyValue:StringLike:
                cognito-identity.amazonaws.com:amr: unauthenticated
      Description: Unauthenticated Role for AWS RUM Clients
      Path: /
      Policies:
        - PolicyName: AWSRumClientPut
          PolicyDocument:
            Version: "2012-10-17"
            Statement:
              - Effect: Allow
                Action:
                  - "rum:PutRumEvents"
                Resource: !Sub arn:aws:rum:${AWS::Region}:${AWS::AccountId}:appmonitor/${ApplicationName}

  CWRumAppMonitor:
    Type: AWS::RUM::AppMonitor
    Properties:
      AppMonitorConfiguration:
        AllowCookies: false
        EnableXRay: false
        IdentityPoolId: !Ref CWRumIdentityPool
        GuestRoleArn: !GetAtt CWRumClientRole.Arn
        SessionSampleRate: 0.1
        Telemetries:
          - errors
          - performance
          - http
      Domain: !Ref ApplicationDomain
      Name: !Ref ApplicationName

Outputs:
  CWRumAppMonitor:
    Description: The Cloud Watch RUM App Monitor Name
    Value: !Ref CWRumAppMonitor
-
Open up the command line and navigate to the folder you saved the above
template.ymlinto -
From the command line, use AWS SAM to deploy the
template.ymlfile
sam deploy --guided
- During the prompts
- Enter a stack name
- Enter the desired AWS Region
- Enter the Application Name
- Enter the Application Domain
- Allow SAM CLI to create IAM roles with the required permissions
Once the deployment has finished, you will have a CloudWatch RUM application monitor.
Application Configuration
The next step is to configure your application to connect to the CloudWatch RUM application monitor.
Get JavaScript Snippet from AWS Console
The JavaScript snippet is specific to the CloudWatch RUM application monitor and is used by your application to inject in the CloudWatch RUM web client. This is what captures and sends back events to the service.
- Login to the AWS Console
- Navigate to CloudWatch RUM
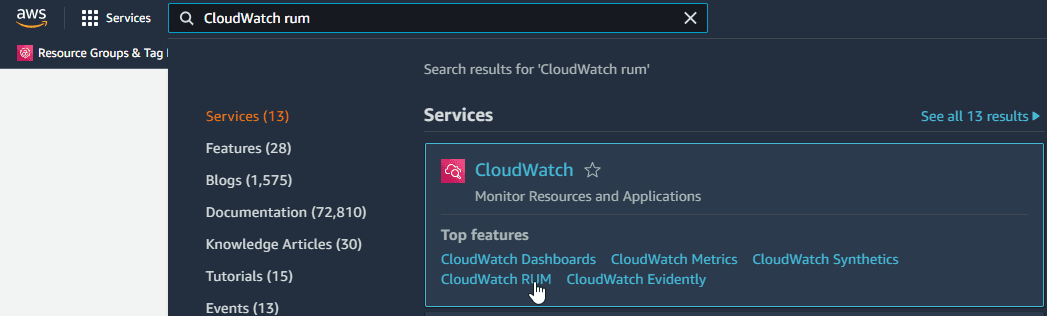
- Identify your application monitor and click the
View JavaScript snippetlink to show the snippet
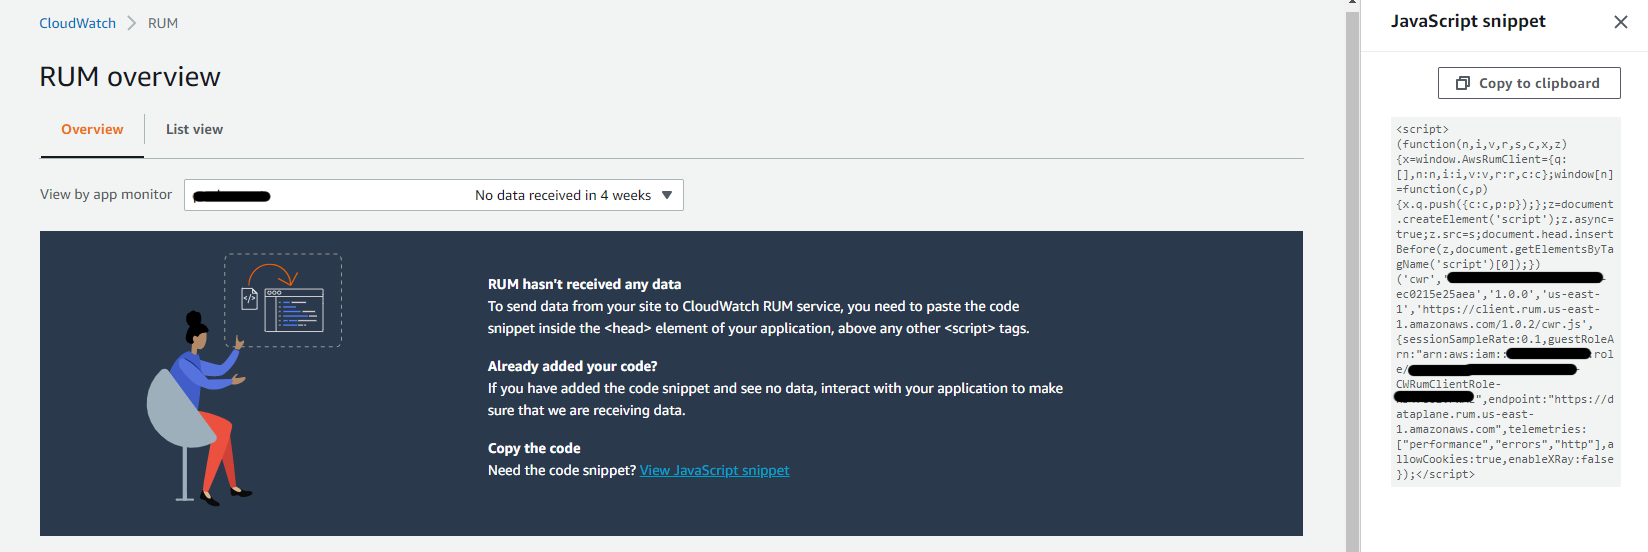
- Click
Copy to clipboardto copy the Javascript snippet
Modify Snippet Configuration
If required, you can modify the code snippet to configure the CloudWatch RUM web client with additional options.
See the CloudWatch RUM Modify Snippet documentation for further information on the additional options.
From those options, I've decided to configure CloudWatch RUM as follows.
- Enables cookies to track user and session details
- Enables XRay traces
- Sample all sessions
- Collect telemetry events for errors, performance and HTTP requests
- Adds the X-Amzn-Trace-Id header to the HTTP requests to allow client to server tracing
- Record all requests i.e. not just errors
- Only track HTTP requests including my domain using absolute and relative path
The snippet below shows the above configuration in action as an example.
Note: The body of the snippet's function has been omitted for readability.
<script>
  (function(n,i,v,r,s,c,u,x,z){...})(
    'cwr',
    '00000000-0000-0000-0000-000000000000',
    '1.0.0',
    'us-west-2',
    'https://client.rum.us-east-1.amazonaws.com/1.0.2/cwr.js',
      {
      allowCookies: true,
      enableXRay: true,
      sessionSampleRate: 1,
      guestRoleArn:'arn:aws:iam::000000000000:role/RUM-Monitor-us-west-2-000000000000-00xx-Unauth',
      identityPoolId:'us-west-2:00000000-0000-0000-0000-000000000000',
      endpoint: "https://dataplane.rum.us-east-1.amazonaws.com",
      telemetries: [
        "errors",
        "performance",
        [
          'http',
          {
            addXRayTraceIdHeader: true,
            recordAllRequests: true,
            urlsToInclude: [
              /^https:\/\/www\.paulmowat\.co\.uk\/.*/,
              /^(?!www\.|(?:http|ftp)s?:\/\/|[A-Za-z]:\\|\/\/).*/
            ]
          }
        ]
      ]
    }
  );
</script>
Insert & Deploy Snippet
Now that we have the snippet configured, we can insert it into the web application code. It needs to be inserted within the <head> element, above any other <script> tags.
The below example shows where to add it to an HTML page.
<!doctype html>
<html lang="en">
<head>
  <script>
    // snippet goes here
  </script>
  ...
</head>
<body>
  ...
</body>
See the below page on the CloudWatch RUM web client documentation for specific frameworks.
Now that we've got the CloudWatch RUM web client inserted. Let's get the application redeployed.
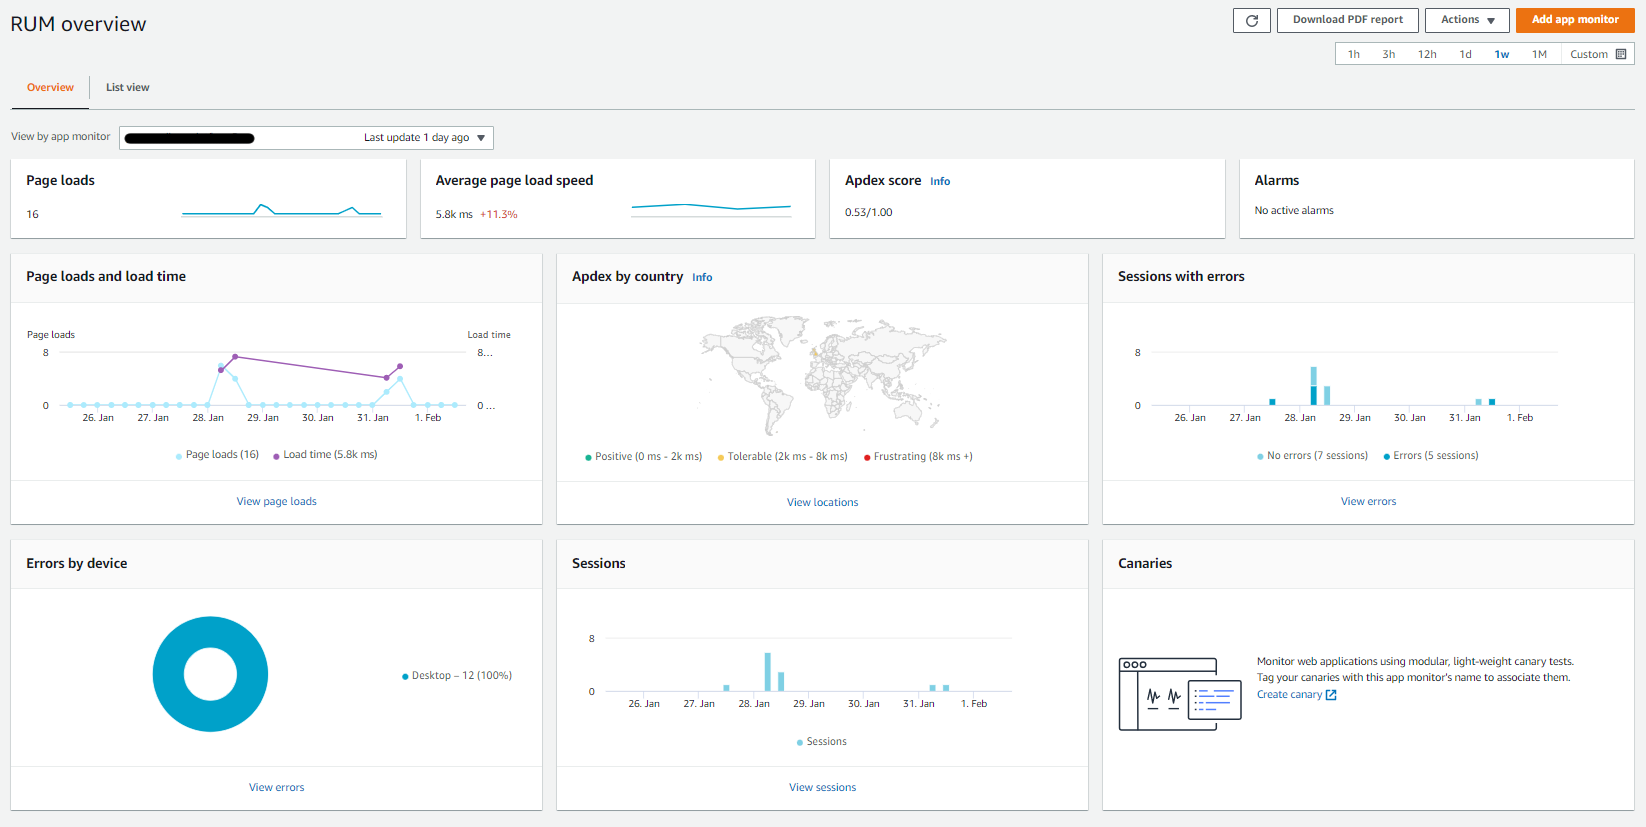
Verifying it works
Everything should now be configured and deployed. Let's verify it's all working as expected.
- Navigate to your application
- Interact with your application to generate events e.g. change pages
- Look at the AWS CloudWatch RUM console for the application monitor. You should be able to see the last updated time and also see data appear as below
Wrap-up
You should have CloudWatch RUM deployed, your web application configured and now be able to see the data on the AWS console.
CloudWatch RUM looks like a good addition to the CloudWatch ecosystem and is very easy to get up and running with minimal changes to your application required.
You can find the code from this blog at the following locations.
- https://github.com/paulmowat/aws-cloudwatch-rum-cognito-sam-cloudformation
- https://serverlessland.com/patterns/cognito-cloudwatch